How to Install Decking: A Mini Guide

Spring Garden Design Tips
6th April 2021
How to Choose the Best Kitchen Sink for Your Home
23rd April 2021
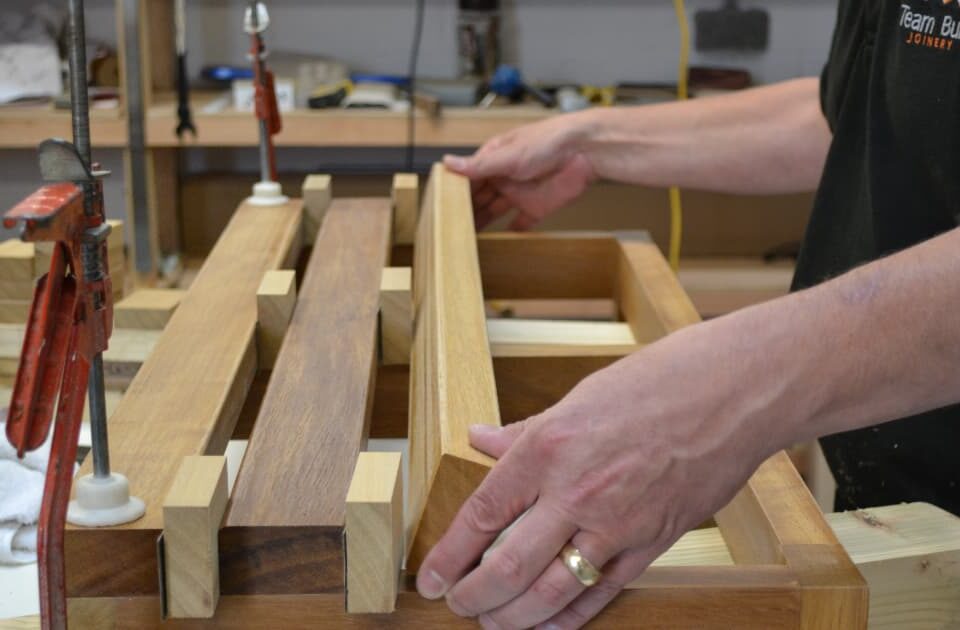
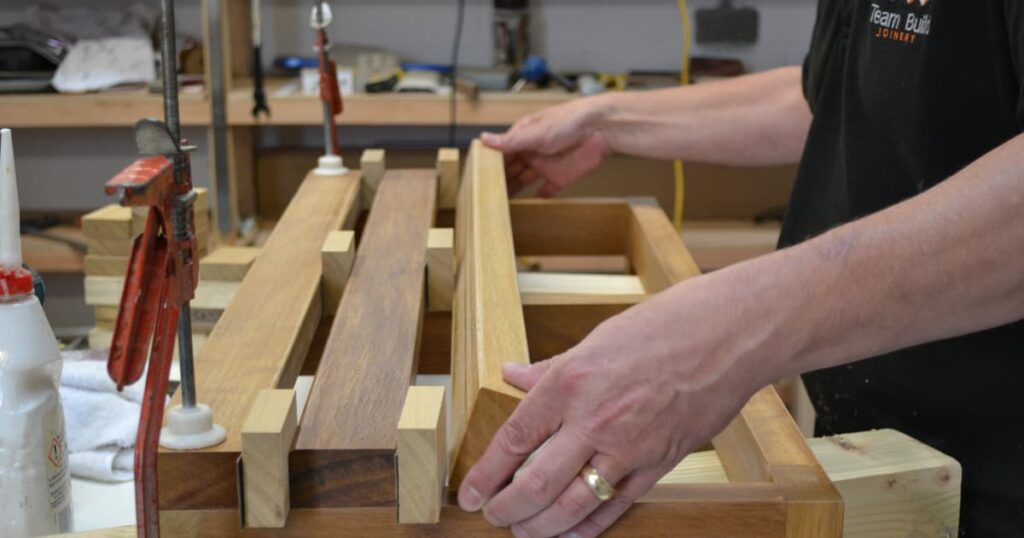
Decking is a popular inclusion in many gardens and the good news is that it’s possible to DIY! Decking can be used in a variety of ways, whether you want to make a walkway leading from your back door or want to create a stand-alone bespoke feature in the sunniest spot in the garden, installing decking can be an ideal option.
If you’re considering installing the decking yourself, read through this guide for a step-by-step breakdown – however, it’s worth mentioning that if you are in doubt and want to ensure the best results, it’s advised to call upon the help of some experts in this area of craftsmanship, such as your local joinery company or carpenter.
Recommended tool list:
- Screwdrivers
- Workbench
- Drill
- Tape measure
- Jigsaw
- Hammer
- Gloves
- Mitre saw
- Spirit level
- Battery drill
- Nail gun
- Goggles
Recommended materials list:
- Wood for framework
- Decking boards
- 100mm nails
- 50mm number-8 decking screws
- Wood for stakes (25mm x 50mm)
- Paving slabs
- Wood preserver
- Weed control fabric
Step-by-step guide:

Step One – The first thing you’ll need to do is establish where you will be laying the decking fixture and ensure any soft ground is flattened. After this, you should lay out weed-control landscaping fabric over the entire area.
Step Two – Lay paving slabs down in the corners of the area you will be decking, and also in the centre points where the decks will be laid. Ensure all the slabs are level by putting a straight piece of wood on top of the slabs.
Step Three – Lay all the edges of the wooden framework to create a border for the area. Nail all corners together to ensure the structure is firmly in place. Use larger screws for extra security.
Step Four – Once the border is in place, it’s now time to lay any joists inside the frame. Ensure the wooden joists have equal gaps between them and are nailed in properly. This is where a nail gun can come in handy. After the joists are in place, check that everything is level and make any necessary adjustments.
Step Five – Use the 25mm x 50mm wood for stakes that go in between the joists that are in place. Give the stakes a coat of wood preserver before hammering them in place. Then, screw through the stakes into the frame to ensure the structure remains in place and prevent anything from moving around.
Step Six – Next, you’ll want to cut and fit noggins, which provide additional stability to the structure. Place them along the centre line of the frame in between the joists.
Step Seven – Now it’s time to start laying the decking boards. Ensure that the planks are 5mm apart and are fixed in place using two screws per plank. Then, use a mitre saw to cut decking boards to go around the edges of the frame.
Step Eight – Add any additional finishing touches and ensure every part of the decking is level and securely in place. You can also choose to make an additional framework that will work as a step if there is a big enough drop from the deck to the garden.

This guide is just an outline for how to install basic decking, but each fixture will differ depending on what you are trying to achieve. If you are going to attempt to install decking yourself, it’s best to perform as much research as possible so that you are confident with what you are doing.
Remember, it’s important to remain safe whilst performing DIY so you should ensure you have all the necessary equipment, tools and materials before attempting to install decking. For more DIY tips, this useful blog post on our Team Build Construction website might come in handy.
But if ultimately you aren’t sure whether this is something you can do on your own, then it could be a better option to call upon the services of some experts in this field, such as Team Build Joinery and Interiors.

