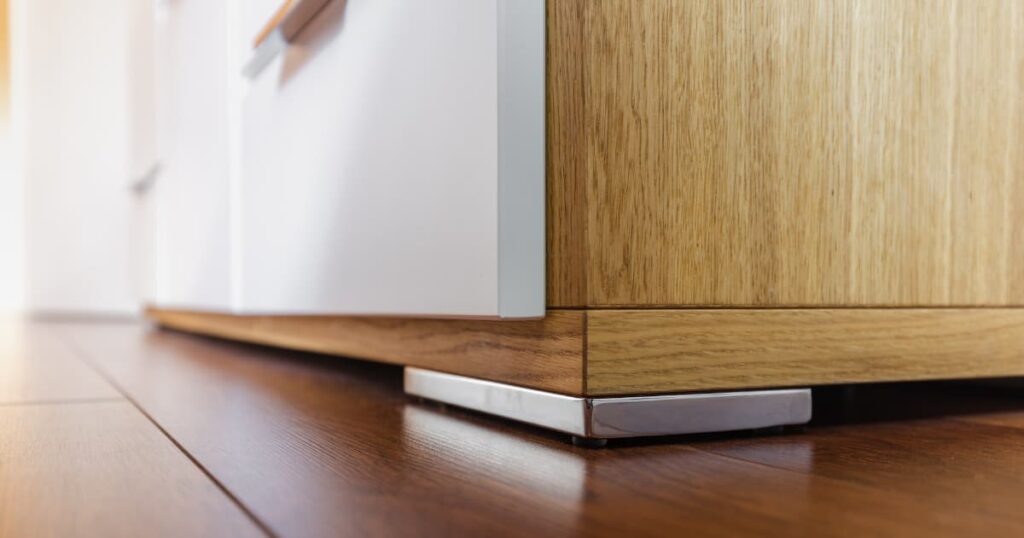
How to Lay Solid Wood Flooring

Interior Design Trends 2021
6th June 2021
How to Add Space and Increase Property Value with a Kitchen Extension
23rd June 2021
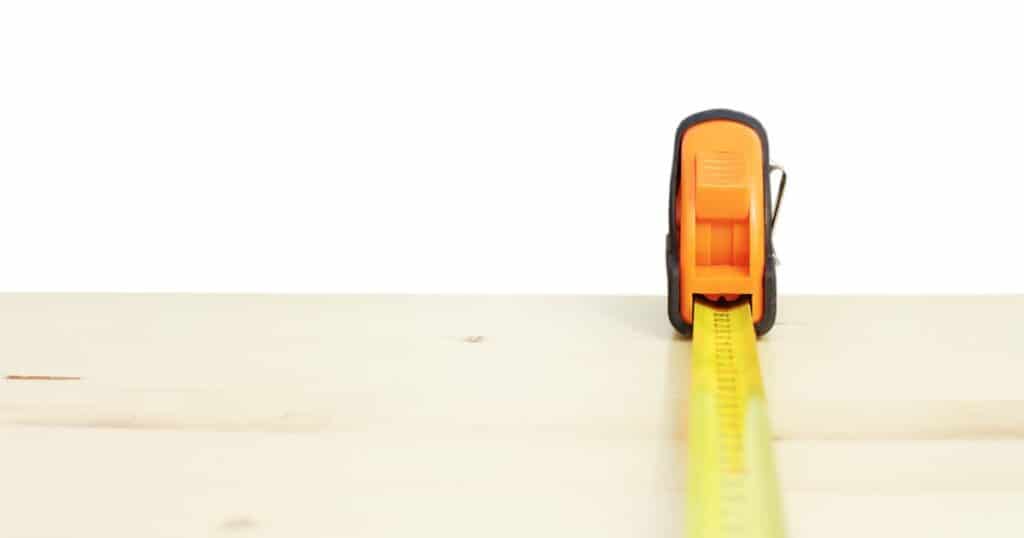
There are many benefits to having solid wood flooring, with its main appeals being the timeless look and low maintenance.
In this guide, we’ll look at the step by step process of laying wood flooring, for those looking to attempt this as a DIY task. We will also explain what you need to do if you are fixing to under flooring such as concrete or existing timber.
If fixing to existing timber
If you are planning on laying new solid wood flooring on top of existing timber, your best option will likely be to nail the new boards to the old flooring. Before you begin, it can be a good idea to remove skirting boards if you want to achieve the neatest possible finish. If you feel it’s necessary, you can add in some slatted underlays to use in between the old flooring and the new.
When you begin, it’s a good idea to lay the new board at a 90-degree angle to the old flooring and nail it in place. Whilst fixing the new flooring, you should leave an expansion gap around the walls of around 15mm to allow for movement. The timescale of the project will depend on the size of your room; however, it should realistically take around two to three days.
If fixing to concrete
If you are fixing to concrete, you have the option to either lay a subbase or fix directly to the concrete itself. If the concrete is not sound and level, it’s recommended that you lay a subbase from woods such as plywood or chipboard before nailing or gluing the new wood floor onto the subbase.
If you are planning to directly fix the floor onto the concrete, the best option is to use glue. Alternatively, you can use self-adhesive membranes, however, due to the strength of the adhesive, this method leaves no room for error.
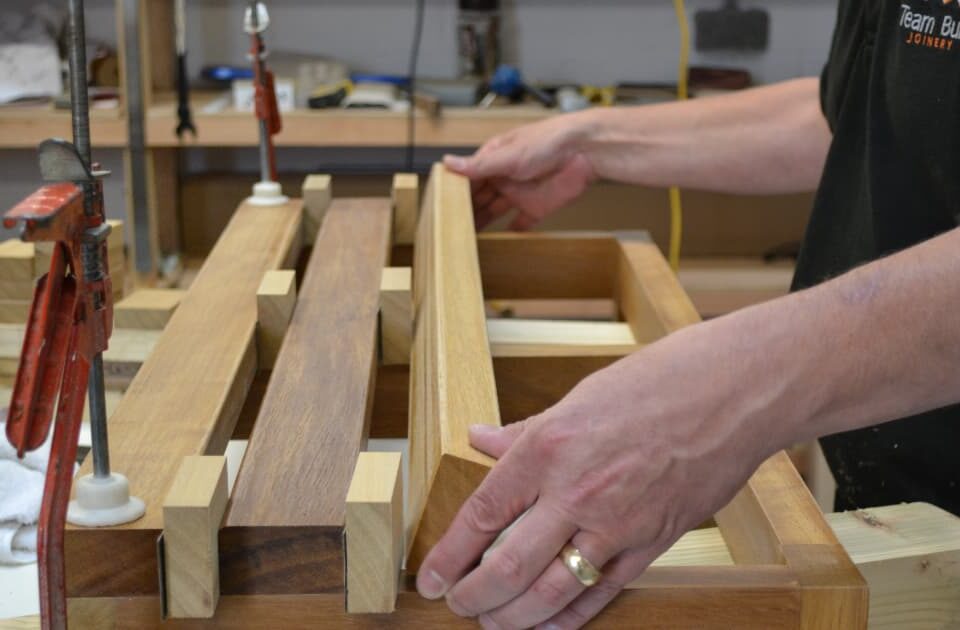
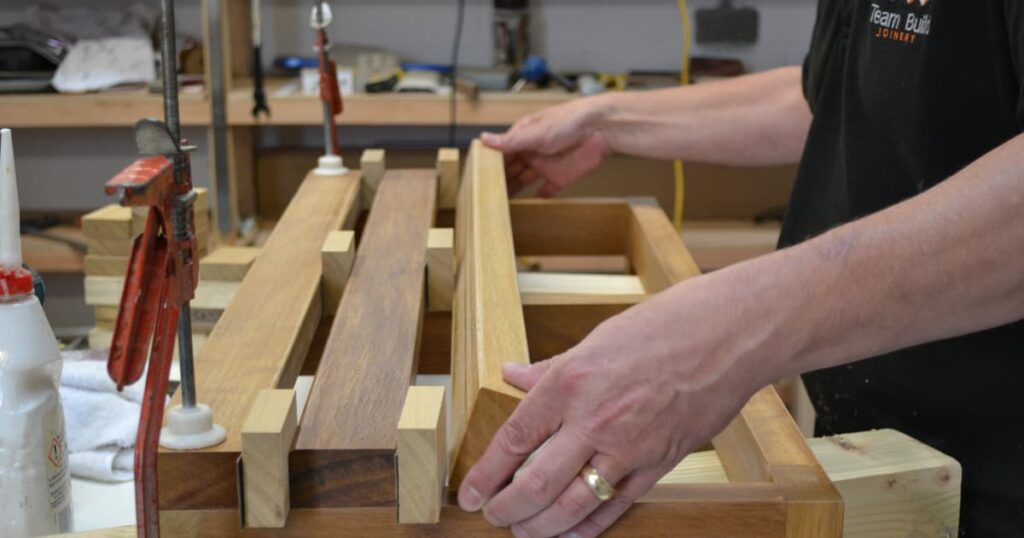
Step by step guide
1. Acclimatise the boards
Firstly, you’ll need to acclimatise the new flooring boards, depending on the material, this can take from 24 hours to a few days and it’s worth asking your flooring supplier how long they recommend for acclimatisation. You’ll then want to decide which direction you want to lay the new flooring in.
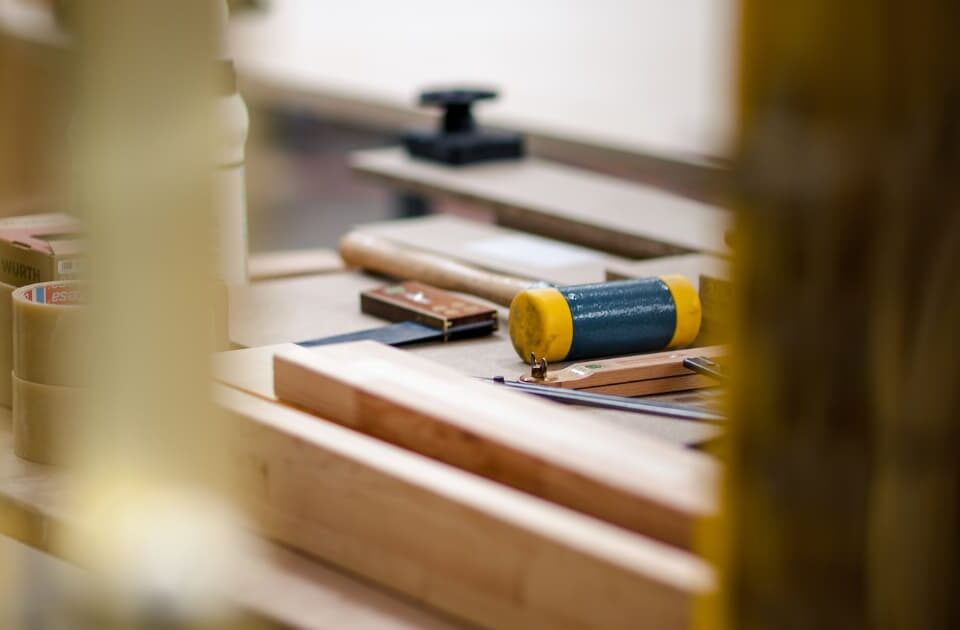
2. Prepare subfloor
Next, you’ll want to remove the skirting boards with a crowbar. When doing this, you should place a wooden block between the wall and crowbar to avoid doing any excess damage. Now, you’ll want to clean the subfloor – if you’re going to use underlay, you’ll want to cut and position it now.
3. Fix the initial row of boards
Before you start fixing the boards, you’ll want to position plastic spacers along the longest wall in the room. Now, you should be ready to lay the first row of boards; start from a corner and then begin to either nail or glue the new floorboards in place. Remember, you’ll want to leave an expansion gap that needs to run around the edges of the entire room.
4. Lay the second row
When laying the second row, start with the cut off section of the board from the last row you laid. Ideally, stagger the end joints of the adjacent rows by approximately 30cm. Continue doing this for all boards and tighten each joint with an edge block.
5. Dealing with pipes
To deal with pipes, mark the position on the board that is being laid around the area. Drill a hole approximately 5mm larger than the diameter of the pipe and create two saw cuts that run from the edge of the board to the sides of the hole. Now, fit the altered board into position and glue the excess piece of wood you cut off back into place at the other side of the pipe.
6. Lay the final row and refit the skirting.
When fitting in the final row, you might have to cut the length of the boards. To ensure it all fits properly, measure the gap between the floorboards and the wall and leave 15mm, sawing the boards to fit. Finally, fix the joints and force the boards into place. Now you’ll need to refit the skirting boards you took out previously, and that should be job done!
Don’t hesitate to call in the experts!
If you are struggling or unsure about any of the steps, don’t be afraid to call in some expert help! Sometimes, it’s not worth the trouble of attempting DIY, and it can save you a lot of time and stress to just bring in the experts. This will ensure your new solid wood flooring is installed properly and is finished to your required standard.